Unlocking the Magic of Mod Podge Puzzle Glue: More Than Just a Puzzle Pal!
If you've ever delved into the world of crafting, you've probably come across a product that's gained near-cult status among craft enthusiasts - Mod Podge puzzle glue. But what's the buzz all about, you ask? Well, buckle up, because we're about to embark on a journey into the wonderful world of Mod Podge and why it's a must-have for your crafting arsenal.
The Marvel of Mod Podge Puzzle Glue
Why do we rave about Mod Podge puzzle glue, you wonder? It's simple – this isn't your run-of-the-mill craft glue. Mod Podge is a game-changer in the crafting universe because it seamlessly combines an adhesive with a glossy lacquer. This marriage of functions means it doesn't just hold your precious puzzle pieces together; it also grants them a protective gloss finish that dries crystal clear, every single time. And trust us, it lays down that coat as smooth as a pro.
But wait, there's more. Mod Podge's sealing capabilities put ordinary craft glues to shame. This magical potion comes with a built-in sealer, making it an unbeatable choice for all your crafting endeavours. It's safe to say that when it comes to bonding properties, Mod Podge stands tall above the rest.
So, if you're pondering which glue to pick for your next puzzle project, the answer is as clear as Mod Podge's glossy finish – it's the top choice for us at Journey of Something!
Beyond Puzzles: The World of Mod Podge Possibilities
But here's the kicker: Mod Podge glue isn't just a one-trick pony reserved solely for securing your jigsaw puzzles. Oh no, it's a versatile superstar in the crafting universe.
Crafting Delight with Mod Podge
Thanks to its ideal consistency and that signature clear, glossy finish, Mod Podge is your perfect companion for a variety of craft projects. While we're all about the puzzles, we can't help but share our newfound love for another crafty endeavour – Decoupage.
Now, you might be thinking, "Decoupage? That sounds a bit outdated, doesn't it?" Well, perhaps, but let's not write it off just yet. Picture this: a visit to your local thrift store, snagging some old magazines, and letting your inner artist run wild with scissors. Yes, it's essentially collage-making, and guess what? Collage is cool again, my friends!
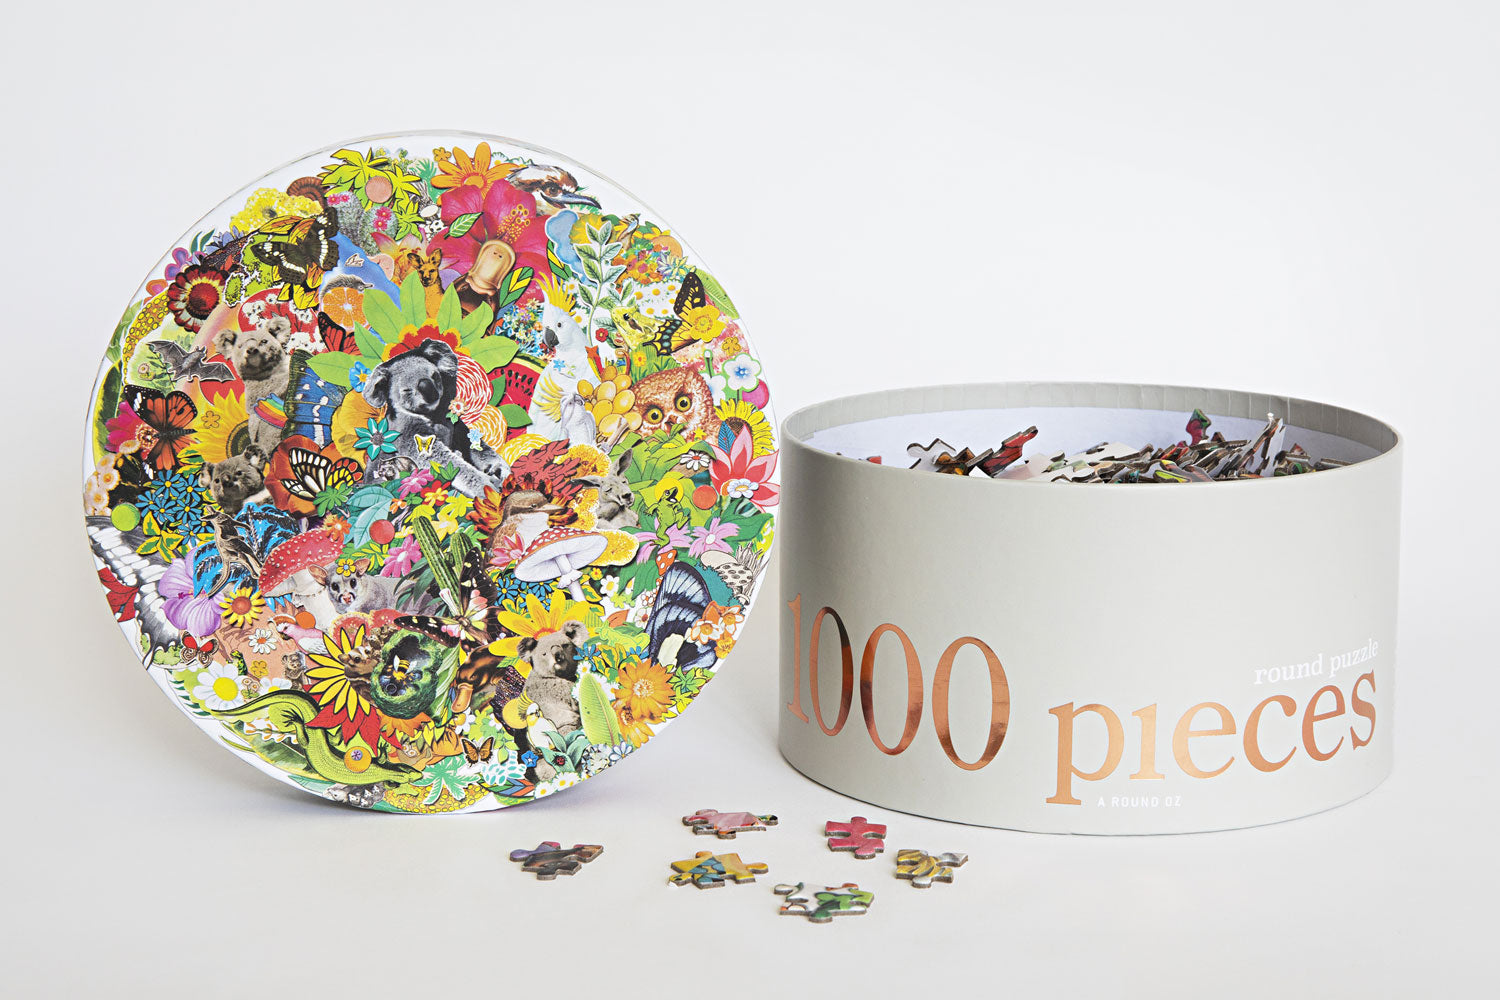
A shining example of this resurgence is our All Around Puzzle, brought to life by none other than the collage king himself, Maximillian Malone.
The Decoupage Craze
Here at Journey of Something, we're on a decoupage spree (with Mod Podge leading the way, of course). Boxes, bowls, rocks, magnets, and even furniture – nothing is safe from our crafty clutches!
So, while the term "cool decoupage" might sound like a paradox, it's very much a reality.
Top Tips for Successful Decoupage with Mod Podge Puzzle Glue
Now that we've got you all excited about decoupage, it's time to dive into the nitty-gritty. Here are our expert tips to ensure your decoupage journey with Mod Podge is a resounding success:
- Prepare Your Canvas
Before you start crafting, ensure your canvas is primed and ready. Cleanliness is key – make sure it's dust-free and as smooth as possible.
- Cut with Precision
Select your pictures and cut them out meticulously. Consider using a Stanley knife for certain paper types and aim to leave as little white edge around the pictures as possible. If you can't avoid it, use a marker with a matching colour to blend it in.
- Plan Your Placement
Before reaching for the glue, arrange your pictures on the canvas to get the perfect layout. For those tiny pieces, tweezers can be a lifesaver.
- The Gluing Game
Now comes the fun part – gluing! Use Mod Podge to secure your pictures in place. Remember to smooth out any wrinkles and wipe away excess glue with a slightly damp sponge.
- The Varnish Finish
To seal the deal (literally), apply a layer of varnish on top. You can simply use another layer of Mod Podge for this step, but keep in mind that you might need to add several layers. Always allow one layer to dry before applying the next.

Mod Podge Magic
There you have it, folks – the magic of Mod Podge puzzle glue goes far beyond jigsaw puzzles. With its adhesive prowess and glossy charm, it's your ticket to a world of crafting possibilities. So go ahead, grab your Mod Podge, and let your creativity run wild – whether it's puzzles, decoupage, or something entirely unique, the crafting world is your oyster!
Author: Nicola Caras